Introduction
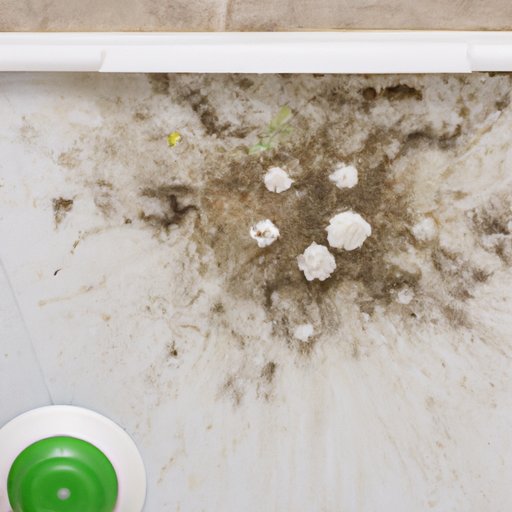
Mold is a type of fungus that can grow in damp, humid environments like bathrooms. It is often seen as a black or greenish-brown substance on walls, floors, and ceilings. While it may look harmless, it can cause respiratory problems and other health issues if left untreated. Fortunately, there are steps you can take to clean mold from your bathroom ceiling and prevent it from coming back.

Steps to Clean Mold from Bathroom Ceiling
Cleaning mold from your bathroom ceiling can be a daunting task, but it is possible with the right tools and techniques. Here are some steps to help you get started:
1. Use a Ladder and Bucket of Warm Water and Mild Detergent
The first step to cleaning mold from your bathroom ceiling is to use a ladder and bucket of warm water and mild detergent. This will help loosen any dirt and grime that has built up on the ceiling. Be sure to wear protective goggles and gloves to avoid getting the detergent in your eyes or on your skin.
2. Spray the Affected Area with Bleach or Hydrogen Peroxide Solution
Once you have loosened the dirt and grime, you can spray the affected area with a bleach or hydrogen peroxide solution. This will help kill any remaining mold spores. Be sure to follow the instructions on the label when using either of these products.
3. Mix One Part White Vinegar and One Part Water in a Spray Bottle and Apply it to the Ceiling
White vinegar is a great natural cleaner for removing mold from bathroom ceilings. To use it, mix one part white vinegar and one part water in a spray bottle and apply it to the ceiling. Allow it to sit for a few minutes before wiping it off with a sponge or cloth.
4. Wipe Down the Area with a Sponge or Cloth
Once you have sprayed the area with the vinegar solution, you can wipe it down with a sponge or cloth. Be sure to use a gentle, circular motion so as not to spread the mold spores around. Rinse the sponge or cloth in hot water and repeat the process until all of the mold is gone.
5. Allow the Area to Dry Completely Before Repainting
Once you have removed all of the mold, you should allow the area to dry completely before repainting. This will help ensure that no moisture is trapped inside the paint, which could lead to more mold growth in the future.
6. Use a Vacuum Cleaner with an Appropriate Attachment to Remove Any Remaining Mold Particles
If there are still small particles of mold on the ceiling, you can use a vacuum cleaner with an appropriate attachment to remove them. Be sure to empty the vacuum cleaner bag after each use to avoid spreading the mold spores.
7. Apply a Sealant to the Ceiling to Prevent Future Mold Growth
Finally, you can apply a sealant to the ceiling to help prevent future mold growth. This will make it more difficult for mold spores to take hold in the future and make your bathroom more sanitary.
Conclusion
Cleaning mold from bathroom ceilings can be a challenging task, but it is possible with the right tools and techniques. By following the steps outlined above, you can effectively remove mold from your bathroom ceiling and help prevent it from coming back. In addition, you can also apply a sealant to the ceiling to help keep it free of mold in the future.
Summary of Steps to Clean Mold from Bathroom Ceiling
To clean mold from bathroom ceilings, use a ladder and bucket of warm water and mild detergent to loosen dirt and grime; spray the affected area with a bleach or hydrogen peroxide solution; mix one part white vinegar and one part water in a spray bottle and apply it to the ceiling; wipe down the area with a sponge or cloth; allow the area to dry completely before repainting; use a vacuum cleaner with an appropriate attachment to remove any remaining mold particles; and apply a sealant to the ceiling to prevent future mold growth.

Benefits of Cleaning Mold from Bathroom Ceiling
Cleaning mold from bathroom ceilings has many benefits. It can help improve air quality, reduce the risk of respiratory problems, and make your bathroom more sanitary. It can also help protect your walls, floors, and ceilings from damage caused by mold growth. Finally, it can help you save money by avoiding costly repairs due to mold-related damage.


