Introduction
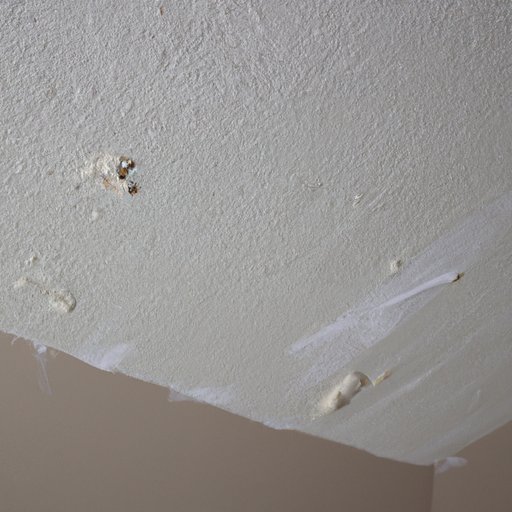
Popcorn ceilings, also known as acoustic ceilings or textured ceilings, are a type of ceiling finish that has been popular since the 1960s. It is typically made from a mixture of joint compound and other materials, such as Styrofoam, which is then sprayed onto the ceiling. The resulting texture resembles popcorn, hence the name.
In this article, we will provide a comprehensive guide on how to install a popcorn ceiling. We will cover everything from preparation and materials needed, to tips and tricks for a professional-looking finish. We will also discuss the pros and cons of DIY popcorn ceiling installation.
Step-by-Step Guide to Installing a Popcorn Ceiling
Installing a popcorn ceiling is a relatively simple process, but it does require some preparation and materials. Here’s what you’ll need:
- Joint compound
- Paint roller
- Paint trays
- Texture sprayer
- Drop cloths
- Painter’s tape
- Sandpaper
- Safety glasses
Once you have all the materials, follow these steps:
- Cover the floor and walls with drop cloths. This will help protect them from splatter.
- Apply painter’s tape to any trim or corners that you don’t want to be covered in texture.
- Mix the joint compound according to the manufacturer’s instructions. You may need to add water to thin it out.
- Fill a paint tray with the joint compound and use a paint roller to apply it to the ceiling. Start in one corner and work your way across the ceiling. Make sure to evenly spread the compound.
- Once the entire ceiling is covered, use a texture sprayer to apply the texture. Be sure to hold the sprayer at least 12 inches away from the ceiling. Move the sprayer slowly and evenly to achieve an even finish.
- Allow the ceiling to dry completely before removing the painter’s tape.
- Once dry, use sandpaper to smooth out any rough patches.
How to Achieve a Professional-Looking Popcorn Ceiling Finish
To achieve a professional-looking finish, there are a few tips and tricks to keep in mind. First, make sure to mix the joint compound correctly. If it is too thick, it won’t spread evenly and will create ridges in the texture. If it is too thin, it won’t stick to the ceiling.
When applying the texture, be sure to move the sprayer slowly and evenly. If you move too quickly, the texture won’t adhere properly and will result in an uneven finish. You should also avoid spraying too close to the ceiling, as this can cause clumping.
Finally, use sandpaper to smooth out any rough patches. This will help ensure a professional-looking finish.

Tips and Tricks for Installing a Popcorn Ceiling
When installing a popcorn ceiling, it is important to choose the right type of texture. There are several different types available, including orange peel, splatter, and knockdown. Each type has its own distinct look and feel, so it’s important to pick the one that best suits your needs.
It is also important to use the right tools and techniques for a successful installation. For example, using a paint roller instead of a paint brush can help ensure an even application. Additionally, it is important to use a texture sprayer that is designed specifically for popcorn ceilings, as this will help ensure a smooth finish.

The Basics of DIY Popcorn Ceiling Installation
Before starting a DIY popcorn ceiling installation, it is important to take safety precautions. Wear safety glasses and a dust mask to protect your eyes and lungs from the joint compound and texture. Additionally, make sure to wear clothing that you don’t mind getting dirty.
It is also important to properly mix and apply the texture. Make sure the joint compound is mixed correctly and use a paint roller to evenly spread it on the ceiling. When using the texture sprayer, move it slowly and evenly to ensure a smooth finish.

The Pros and Cons of Installing a Popcorn Ceiling
Installing a popcorn ceiling can be a great way to give your home a unique and stylish look. It is relatively inexpensive and easy to install, making it a great choice for DIYers. Additionally, popcorn ceilings are highly durable and can last for many years with proper maintenance.
However, there are some potential drawbacks to consider. For one, popcorn ceilings are difficult to repair if they become damaged. Additionally, popcorn ceilings are known to contain asbestos, which can pose a health risk if disturbed. As such, it is important to have your popcorn ceiling tested for asbestos before attempting to remove it.
What You Need to Know Before Installing a Popcorn Ceiling
Before installing a popcorn ceiling, there are a few things to consider. First, different types of ceilings require different materials and techniques. For example, plaster ceilings require special joint compound, while drywall ceilings require less. Additionally, the cost of materials and labor can vary depending on the size of the room.
It is also important to research the potential drawbacks of popcorn ceilings. As mentioned above, popcorn ceilings can contain asbestos and may be difficult to repair if damaged. Therefore, it is important to weigh the pros and cons carefully before deciding if a popcorn ceiling is right for you.
Conclusion
Installing a popcorn ceiling is a relatively simple process, but it requires some preparation and materials. This article provided a comprehensive step-by-step guide to installing a popcorn ceiling, as well as tips and tricks for achieving a professional-looking finish. We also discussed the pros and cons of DIY popcorn ceiling installation and what you need to know before starting.
With the right preparation and materials, installing a popcorn ceiling can be a great way to give your home a unique and stylish look. However, it is important to weigh the potential risks and costs before making a decision.


