Introduction
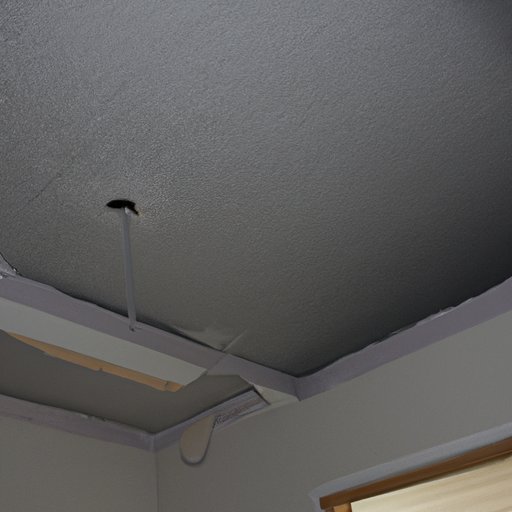
Spray painting is a great way to give any room an instant facelift. Whether you’re looking to refresh a tired ceiling or completely change its color, spray painting is a straightforward and cost-effective solution. This article will provide a step-by-step guide to help you achieve a professional-looking finish when spray painting your ceiling.
Prepare the Room
Before you begin, it’s important to make sure you have all the necessary supplies. You will need drop cloths, painter’s tape, primer, and spray paint in the color of your choice. Make sure to choose a paint that is appropriate for the surface you are painting.
Cover the Floor
Before you start spray painting, lay down drop cloths on the floor in order to protect it from any splatter. It’s also a good idea to cover any furniture in the room with additional drop cloths, just in case.
Mask off Ceiling
Once the floor is covered, use painter’s tape to mask off the edges of the ceiling, as well as any fixtures or vents. This will ensure that only the ceiling is painted, and not any of the surrounding surfaces.
Prime the Ceiling
It is essential to apply a coat of primer before painting. Primer helps the paint adhere better to the surface, and can also help to even out any imperfections. Make sure to choose a primer that is appropriate for the type of surface you are painting.
Apply the Paint
Once the primer is dry, you can start spray painting the ceiling. Shake the can of spray paint for at least one minute prior to use. Hold the can 12-18 inches away from the surface and using a sweeping motion, apply the paint in thin coats. Allow each coat to dry before applying the next.
Clean Up
When you’re finished, remove the painter’s tape and drop cloths and dispose of them properly. You may need to vacuum up any excess paint particles.
Enjoy Your Handiwork
Step back and admire your freshly painted ceiling! With a little patience and effort, you can transform any room with a fresh coat of paint.


