Introduction
Grass is an essential part of nature that often appears in artwork. As an artist, you may find yourself wanting to draw grass realistically, but the task can seem daunting. In this article, we’ll explore the basics of drawing grass, from tools and techniques to tips for adding color and texture. With a few simple steps, you’ll soon be drawing grass that looks like it belongs in a garden!
Definition of Grass
Before we delve into the details of drawing grass, let’s take a look at what grass actually is. Grass is a type of ground cover plant that grows in many parts of the world. It is made up of thin leaves that grow from the ground. Depending on the type of grass, these blades of grass can be short and spiky, long and wispy, or thick and tufted.

Overview of Common Challenges in Drawing Grass
Drawing realistic grass can be tricky, as there are many factors that need to be taken into consideration. The biggest challenge is creating the illusion of depth. You need to create the sense that the blades of grass are growing from the ground and have volume and texture. Additionally, you need to make sure your blades of grass look natural – not too uniform and cookie-cutter. Finally, you need to consider the effect of light and shadows, which will help create a sense of realism in your grass drawing.
Step-by-Step Tutorial on Drawing Realistic Grass
Now that you know the basics of drawing grass, let’s dive into the details. Here is a step-by-step guide on how to draw realistic grass.
Tools Needed
The first step is to gather the necessary tools for drawing grass. You will need a pencil, eraser, and paper. You may also want to use charcoal and colored pencils for added detail and texture.
Establishing the Ground Line
Begin by sketching a line that represents the ground the grass will be growing from. This line should be slightly curved and should not be too perfect. Make sure to leave some blank space below the line so you can add texture and details later.
Creating Individual Blades of Grass
Once you have your ground line in place, start adding individual blades of grass. You can use short, quick strokes to create the blades of grass. Vary the length and thickness of the strokes to create a natural look. When drawing the blades of grass, remember to draw them in the same direction. This will create a sense of movement and realism in your drawing.
Adding Details and Shadows
To add more realism to your grass drawing, start adding details and shadows. Use a variety of lines and shapes to create texture and depth. You can also add small dots and dashes to create the illusion of light and shadow. Make sure to vary the length and thickness of the lines to create a natural look.
A Beginner’s Guide to Drawing Different Types of Grass
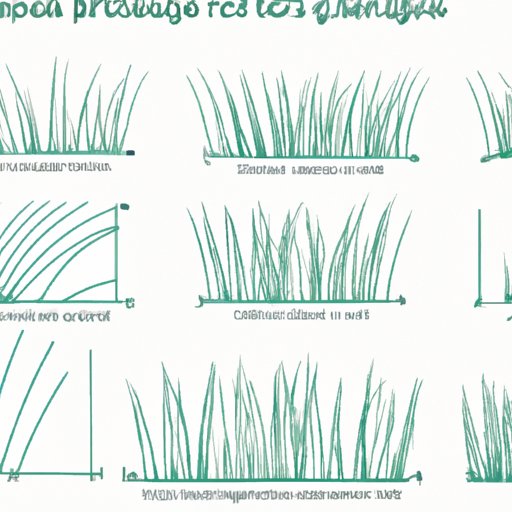
Now that you know how to draw basic grass, let’s take a look at how to draw different types of grass. Each type of grass has its own unique characteristics, so it’s important to be familiar with the different types before you begin drawing.
Long and Wispy Grass
Long and wispy grass is a type of grass that is typically found in meadows and fields. To draw this type of grass, start by sketching long, wavy lines. Then, draw smaller lines coming off of the main lines to create the individual blades of grass. Finally, add details and shadows to give your grass drawing depth and texture.
Short and Spiky Grass
Short and spiky grass is a type of grass that is usually found in areas with dry soil. To draw this type of grass, start by sketching short, jagged lines. Then, draw smaller lines coming off of the main lines to create the individual blades of grass. Finally, add details and shadows to give your grass drawing depth and texture.
Thick and Tufted Grass
Thick and tufted grass is a type of grass that is usually found in gardens and parks. To draw this type of grass, start by sketching thick, rounded lines. Then, draw smaller lines coming off of the main lines to create the individual blades of grass. Finally, add details and shadows to give your grass drawing depth and texture.

Quick Tips for Drawing Grass with Charcoal
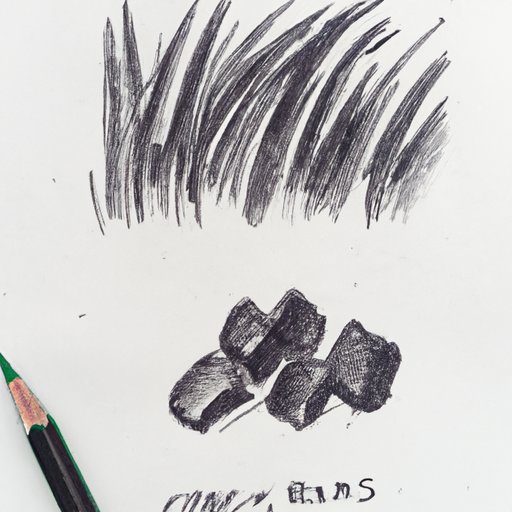
Charcoal is a great medium for drawing grass, as it allows you to create dark and light tones with ease. Here are a few tips to keep in mind when drawing grass with charcoal.
Choosing the Right Charcoal
When choosing charcoal for your grass drawing, it’s important to select the right type of charcoal. Soft charcoal is best for creating detailed lines and shadows, while hard charcoal is best for creating bold lines.
Making Accurate Lines
When drawing grass with charcoal, accuracy is key. Use a ruler or other straight edge to ensure that your lines are even and consistent. This will create a more natural look.
Adding Shadows
Shadows are an important part of any grass drawing. To create shadows, use a soft charcoal pencil to draw darker lines between the individual blades of grass. This will create a sense of depth and realism in your drawing.

How to Use Color and Shading to Create a Lifelike Grass Scene
Adding color and shading to your grass drawing can make it look even more lifelike. Here are some tips on how to use color and shading to create a realistic grass scene.
Selecting the Right Colors
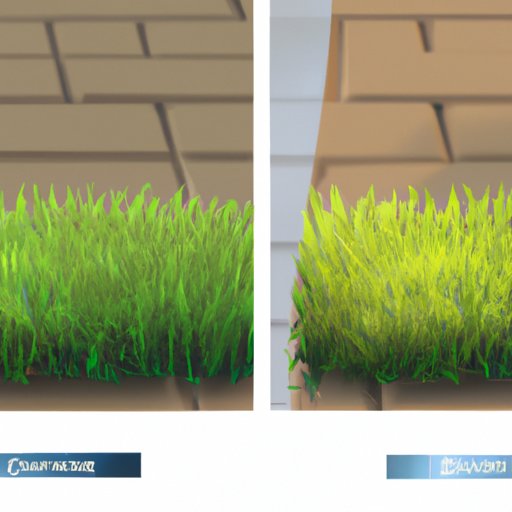
When choosing colors for your grass drawing, it’s important to select colors that are true to life. Avoid using overly bright or unnatural colors, as this will make your drawing look unrealistic. Instead, opt for muted greens and browns that will blend together naturally.
Blending Colors for Depth
To create depth in your grass drawing, you can use a technique called color blending. Start by selecting two shades of green that are slightly different. Then, use a blending tool to gradually blend the two colors together. This will create a sense of depth and realism in your drawing.
Adding Finishing Touches
Once you’ve blended your colors, it’s time to add finishing touches. Use a white charcoal pencil to draw highlights and shadows, and use a black charcoal pencil to draw details such as blades of grass and small stones. This will bring your grass drawing to life.
Combining Different Techniques to Create a Uniquely Textured Grass Drawing
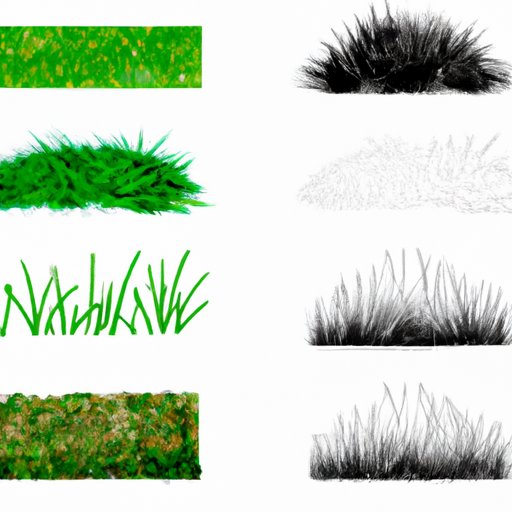
If you’re looking for a way to create a unique and textured grass drawing, consider combining different techniques. Here are a few ideas to get you started.
Mixing Media
Using a combination of media can help you create a unique grass drawing. Try mixing charcoal, colored pencils, and watercolor paints to create a one-of-a-kind piece of art.
Incorporating Patterns
Patterns can make your grass drawing stand out. Try incorporating patterns such as swirls, stripes, or polka dots into your grass drawing. This will add texture and visual interest to your drawing.
Adding Textures
Textures are an important part of any grass drawing. To add texture, try using a sponge, tissue paper, or cotton swabs to create a variety of textures in your drawing. This will create a more realistic and lifelike grass scene.
Conclusion
Drawing realistic grass can be a daunting task, but with practice and patience, you can create beautiful and lifelike grass drawings. We hope this article has provided you with the tools and techniques you need to get started. Remember to experiment with different tools and techniques, and don’t be afraid to mix and match to create a uniquely textured grass drawing. With a few simple steps, you’ll soon be drawing grass that looks like it belongs in a garden!
Summary of Key Points
In this article, we explored the basics of drawing grass, from tools and techniques to tips for adding color and texture. We discussed the different types of grass, including long and wispy, short and spiky, and thick and tufted. We also looked at how to draw grass with charcoal, as well as how to use color and shading to create a lifelike grass scene. Finally, we discussed how to combine different techniques to create a uniquely textured grass drawing.
Final Thoughts
Drawing realistic grass is a skill that takes time and practice to perfect. However, with the right tools and techniques, you can create beautiful and lifelike grass drawings. We hope this article has given you the confidence and knowledge you need to get started.


