
Introduction
Rocking chairs are timeless pieces of furniture that bring comfort and relaxation to any home. Whether it’s a classic wooden rocking chair or a modern design, these chairs are a great addition to any living space. But why build your own rocking chair when you can easily buy one? Well, building your own rocking chair allows you to customize it to fit your exact needs and preferences. Plus, it’s a fun and rewarding way to spend your time.
Benefits of Building Your Own Rocking Chair
Building your own rocking chair has many benefits. Firstly, you will have complete control over the design, size and finish of the chair, so you can be sure it will fit perfectly in your home. Secondly, you will save money by avoiding the cost of buying a pre-made rocking chair. Thirdly, it is a great way to learn new skills and practice your carpentry skills. And finally, building your own rocking chair is a very satisfying experience.
Step-by-Step Guide to Building a Rocking Chair
Building a rocking chair from scratch may seem like an intimidating task, but it’s actually quite simple if you follow the right steps. Here is a step-by-step guide to help you get started.
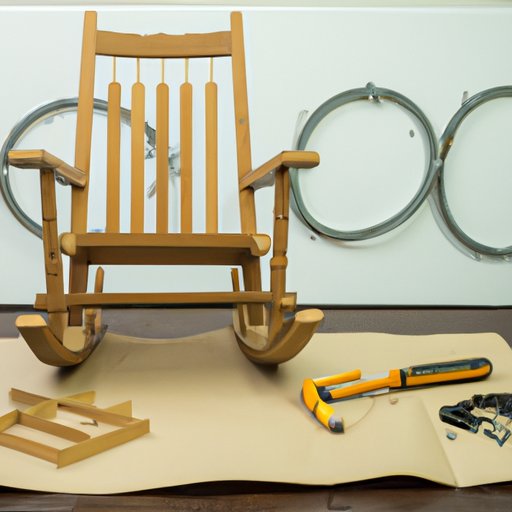
Gathering the Necessary Tools and Materials
The first step is to gather all the necessary tools and materials. You will need a saw (preferably a miter saw), drill, clamps, sandpaper, wood glue, screws, nails and finishing supplies such as stain or paint. Additionally, you will need wood to construct the chair. You can use any type of wood you like, such as pine, oak or cedar.
Preparing the Wood for Construction
Once you have gathered all the materials and tools, you can start preparing the wood. Begin by measuring and marking the wood according to the desired dimensions. Then, cut the wood using the saw. Finally, sand the wood to smooth out any rough edges.
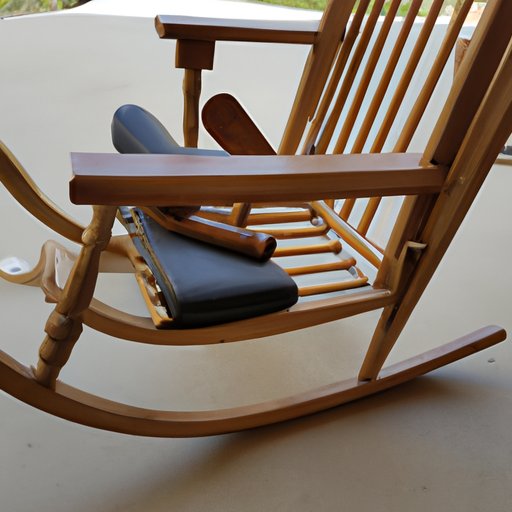
Assembling the Pieces Together
Now it’s time to assemble the pieces together. Start by attaching the backrest and seat slats to the sides of the chair. Next, attach the armrests and the front of the chair. Finally, secure the rocking runners to the bottom of the chair. Make sure that everything is securely fastened.
Finishing Touches
The last step is to add the finishing touches. This includes sanding the chair again, staining or painting it, and adding any decorative elements you desire. Once the chair is finished, it’s time to enjoy your newly built rocking chair!
A Beginner’s Guide to Crafting a Rocking Chair
Crafting a rocking chair from scratch is a great way to learn woodworking basics and hone your carpentry skills. Here is a beginner’s guide to help you get started.
Choosing the Right Design and Size
Before you begin building your rocking chair, it’s important to choose the right design and size. You can find plenty of plans online or in woodworking books. Or, you can design your own chair from scratch. Make sure to measure your space and choose a size that fits comfortably.
Measuring and Marking the Wood
Once you have chosen the design and size of your rocking chair, it’s time to measure and mark the wood. Use a ruler and pencil to draw the lines for cutting. Make sure to double check all measurements before you proceed.
Cutting the Wood for Assembly
Using the saw, cut the wood according to the measurements. Take your time and be careful not to make any mistakes. If necessary, use a jig saw to make curved cuts.
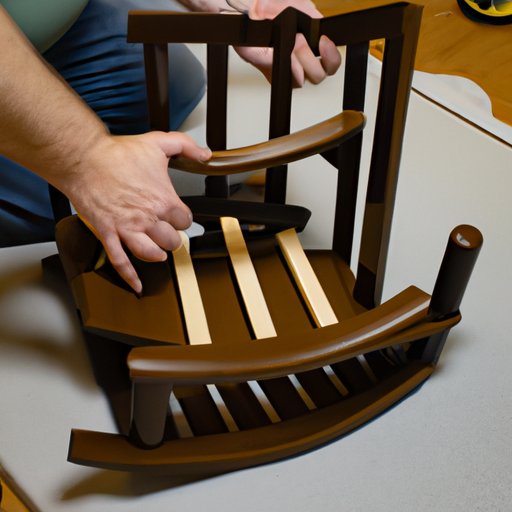
Attaching the Slats and Armrests
Now it’s time to attach the slats and armrests to the frame of the chair. Use wood glue and nails or screws to secure them in place. Make sure that everything is tightly fastened.
How to Assemble a Rocking Chair from Scratch
Assembling a rocking chair from scratch requires patience and attention to detail. Here are some tips to help you get the job done.
Selecting the Right Hardware
When selecting the hardware for your rocking chair, make sure to choose pieces that are strong and durable. Choose screws and nails that are suitable for the type of wood you are using. Additionally, you may want to use furniture glides to protect the floor from scratches.
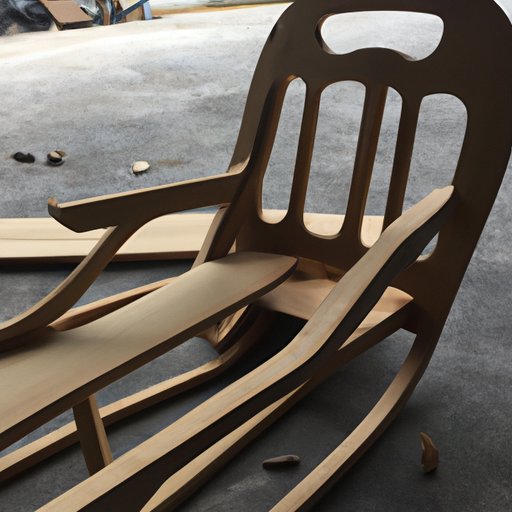
Sanding and Shaping the Pieces
Once the pieces have been cut, it’s time to sand and shape them. Use sandpaper to smooth out any rough edges and create a nice finish. Additionally, you may want to use chisels or a router to create decorative shapes.
Gluing and Nailing the Parts Together
Now it’s time to glue and nail the parts together. Make sure to apply the glue evenly and use enough nails or screws to ensure that everything is securely fastened. Let the glue dry completely before proceeding.
Finishing the Chair with Stain or Paint
Finally, it’s time to finish the chair with stain or paint. Use a brush or roller to apply the finish evenly. Once the finish is dry, your rocking chair is ready to use.
DIY Rocking Chair – Tips and Tricks for Building Your Own
Building a rocking chair from scratch can be a challenging yet rewarding experience. Here are some tips and tricks to help you along the way.
Tips for Working with Wood
When working with wood, it’s important to take your time and pay attention to detail. Make sure to measure twice and cut once. Additionally, always wear safety glasses and gloves when working with power tools.
Troubleshooting Common Issues
If you run into any issues while building your rocking chair, don’t panic. Take a step back and troubleshoot the problem. If necessary, consult an experienced woodworker for advice.
Choosing the Right Wood Glue
When choosing a wood glue, make sure to select one that is suitable for the type of wood you are using. Read the label carefully and choose a glue that offers a strong bond.
Advice on Finishing the Chair
When it comes to finishing the chair, there are many options available. You can choose to stain or paint the chair, or leave it unfinished for a natural look. Alternatively, you can add decorative elements such as carvings or painted designs.
The Art of Building a Rocking Chair from Wood
Building a rocking chair from wood is an art form that requires skill, patience and creativity. Here are some tips to help you get started.
Selecting the Right Wood Species
When selecting the wood for your rocking chair, it’s important to choose the right species. Hardwoods such as oak and maple are ideal for constructing the frame, while softer woods such as pine are better suited for the arms and legs. Make sure to select wood that is free of knots and defects.
Understanding the Different Joints
There are several different types of joints used in woodworking, such as mortise and tenon, dowel and biscuit. It’s important to understand the differences between each joint and how to properly use them. Additionally, you may want to practice making joints on scrap wood before attempting them on your chair.
Applying the Right Techniques
When constructing your rocking chair, it’s important to apply the right techniques. For example, always use wood glue and clamps when joining two pieces of wood together. Additionally, use sandpaper to smooth out any rough edges.
Adding Decorative Elements
You can add decorative elements to your rocking chair to give it a unique look. Consider adding carvings, painted designs or upholstery to the chair. These details can really make your chair stand out from the crowd.
Essential Tools and Materials Needed to Construct a Rocking Chair
To construct a rocking chair from scratch, you will need the following tools and materials:
Basic Hand Tools
You will need basic hand tools such as a saw, drill, screwdriver, hammer, chisels, clamps and measuring tools. Additionally, you may want to invest in a miter saw if you plan on making angled cuts.
Power Tools
Power tools such as a jig saw and router will come in handy when building your rocking chair. These tools are useful for making curved cuts and creating decorative shapes.
Wood Glue and Fasteners
You will also need wood glue and fasteners such as screws, nails and bolts. Make sure to choose the right size and type of fasteners for the type of wood you are using.
Finishing Supplies
Finally, you will need finishing supplies such as stain or paint, brushes and rollers, and furniture glides. These will help you achieve a professional looking finish and protect your floor from scratches.
Conclusion
Building a rocking chair from scratch is a rewarding and enjoyable experience. With the right tools, materials and guidance, you can create a beautiful piece of furniture to enjoy for years to come. Follow this guide and you’ll be well on your way to crafting the perfect rocking chair.