Introduction
Makeup sponges are a great tool for applying foundation, concealer, and other cosmetics. However, if not properly cleaned and maintained, they can become a breeding ground for bacteria and dirt. This article will provide a step-by-step guide to help you keep your makeup sponges clean and sanitary.
Gather Supplies
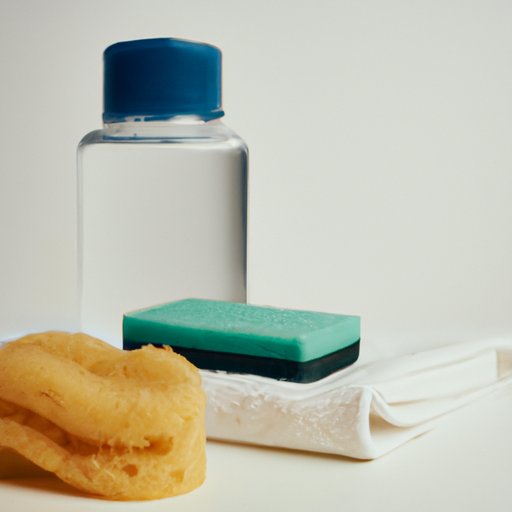
The first step to cleaning your makeup sponge is to gather the necessary supplies. You’ll need a mild detergent, such as dish soap, warm water, and a clean towel.
Wet the Sponge
Once you have your supplies, the next step is to wet your makeup sponge. Soak it in warm water for about 5 minutes or until it is completely saturated.
Apply Detergent
Now, apply a small amount of detergent to the sponge. Rub the detergent into the sponge using your fingers. This will help loosen any dirt or makeup residue that may be stuck on the sponge.
Rinse the Sponge
After the detergent has been applied, rinse the sponge under running water. Make sure all traces of soap have been removed before moving on to the next step.
Clean the Sponge
Now it’s time to scrub the sponge. Use the clean towel to scrub the sponge, making sure to remove any remaining residue. This will help ensure that the sponge is thoroughly clean.
Air Dry
Once the sponge is clean, lay it out on the towel and allow it to air dry completely. This will help prevent the growth of bacteria or mold.
Repeat as Needed
It’s important to repeat this process as often as needed. If you use your makeup sponge daily, you should clean it at least once a week. If you use it less frequently, you may be able to get away with cleaning it every two weeks.
Conclusion
Cleaning your makeup sponge is an important part of maintaining a healthy makeup routine. By following these steps, you can ensure that your makeup sponge is free of bacteria and dirt. Regularly cleaning your makeup sponge will also help it last longer and keep your skin looking its best.


