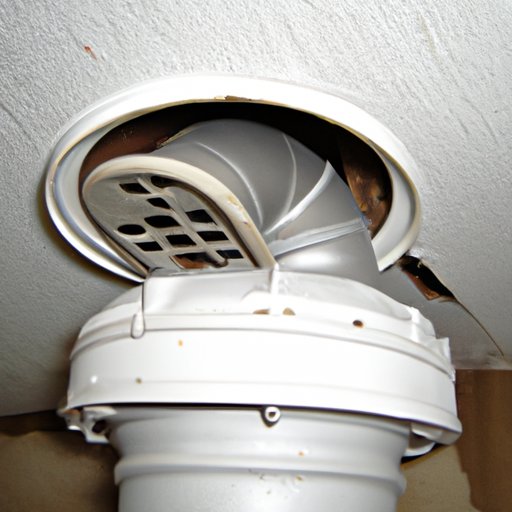
Introduction
Connecting a dryer vent is an important part of any laundry room setup. Properly venting a dryer helps ensure that your clothes are dried quickly and efficiently, while also protecting your home from potential hazards such as carbon monoxide and lint buildup. This article will provide detailed instructions on how to connect a dryer vent, step by step.
Measure and Purchase Components
The first step in connecting a dryer vent is to measure the length of the vent duct you will need to purchase. Measure the distance between the back of the dryer and the wall outlet where the dryer vent will be connected. This measurement will determine the length of the vent duct required. If the dryer is located in an interior room, you may need to purchase additional venting materials such as elbows and wall thimbles.
Once you have determined the necessary components, you can purchase them from a local hardware store or online retailer. Make sure you purchase the correct size and type of components for your dryer model.

Shut off Gas or Electricity
Before beginning any work with a gas dryer, make sure to shut off the gas supply to the unit. If you have an electric dryer, you should also shut off the power to the unit at the circuit breaker. This is an important safety precaution to ensure that you do not get shocked or injured while working with the dryer.

Connect Vent Duct to Dryer
Once the power has been shut off to the dryer, you can begin to connect the vent duct. Start by attaching one end of the vent duct to the exhaust vent on the back of the dryer. Use a hose clamp to securely attach the duct to the dryer. Make sure the connection is tight so that air can properly flow through the vent system.
Connecting Vent Duct to Wall Outlet
Next, connect the other end of the vent duct to the wall outlet. Depending on the type of wall outlet you have, you may need to use additional components such as elbows or wall thimbles. Make sure to secure all connections with screws or clamps so that the duct does not come loose.
Sealing Connections
After all the connections have been made, it’s important to seal them with foil tape. This will help prevent any air leaks and ensure that the vent system is operating efficiently. Make sure to apply the tape evenly and press firmly around all the joints to ensure a good seal.

Securing Dryer Vent to Wall
Finally, secure the dryer vent to the wall using metal screws. This will help keep the vent system in place and prevent it from becoming dislodged. Make sure to use screws that are long enough to penetrate the wall material and hold the vent securely in place.
Installing Vent Hood
The last step in connecting a dryer vent is to install the vent hood on the outside of the house. This helps keep debris and pests out of the vent system and ensures that the air is properly vented outside. Make sure the vent hood is securely attached and that all the connections are sealed with foil tape.
Conclusion
Connecting a dryer vent is an important part of any laundry room setup. By following these steps, you can ensure that your clothes are dried quickly and safely and that your home is protected from potential hazards. Remember to measure and purchase the necessary components, shut off the gas or electricity supply, connect the vent duct to the dryer and wall outlet, seal all connections, secure the dryer vent to the wall, and install the vent hood on the outside of the house.


