
Introduction
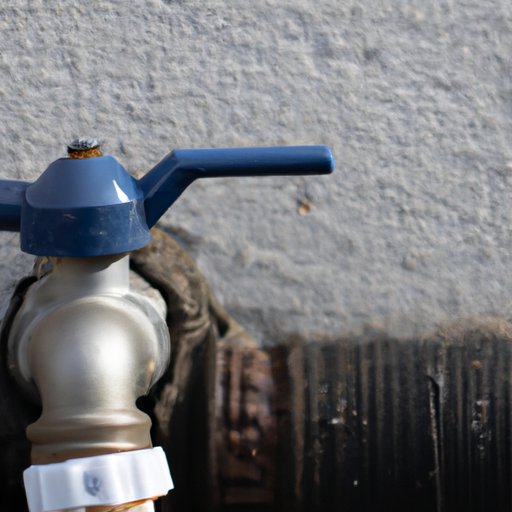
A leaky outdoor frost free faucet can be a major problem, causing water damage to your home or property. If you’ve noticed a leak in your outdoor frost free faucet, it’s important to take action right away to prevent further damage. This article will provide step-by-step instructions on how to fix a leaky outdoor frost free faucet.
Identify the Source of the Leak
The first step is to identify the source of the leak. You may be able to see visible signs of damage or corrosion on the faucet itself. If this is the case, you may need to replace the entire faucet rather than just repair it. However, it’s possible that the leak could be caused by something as simple as a damaged or cracked rubber O-ring, which can easily be replaced.

Shut Off the Water Supply
Once you’ve identified the source of the leak, the next step is to shut off the water supply. This is an important safety precaution and should always be done before attempting any repairs on a faucet. Most outdoor frost free faucets have a shut off valve located near the base of the faucet. Turn the valve clockwise until it is completely closed.
Unscrew the Faucet
Now you’re ready to start repairing the faucet. The first step is to unscrew the faucet. Using a wrench, carefully turn the nut counterclockwise until it comes loose. Be sure not to use too much force, as this can cause further damage to the faucet.
Inspect the O-Rings
Once the faucet is unscrewed, you can now inspect the O-rings. Look for any damaged or cracked rubber O-rings. If they appear to be damaged, you’ll need to replace them with new ones. Make sure to buy the correct size O-ring for your particular faucet.
Reassemble the Faucet
Once the O-rings are replaced, you’re ready to reassemble the faucet. Make sure to reverse the order in which you took it apart. Tighten the connections with a wrench and make sure everything is secure. Once you’ve finished reassembling the faucet, you can move on to the next step.
Test for Leaks
The final step is to test for leaks. Turn on the water supply and check for any leaks. If there are no leaks, then you’re ready to use the faucet again. If there are still leaks, you may need to repeat the process until the problem is fixed.
Conclusion
Fixing a leaky outdoor frost free faucet can seem like a daunting task, but with the right tools and instructions, it can be done quickly and easily. By following the steps outlined in this article, you can save time and money by avoiding costly repairs or replacements. With a few simple steps, you can have your faucet up and running in no time.