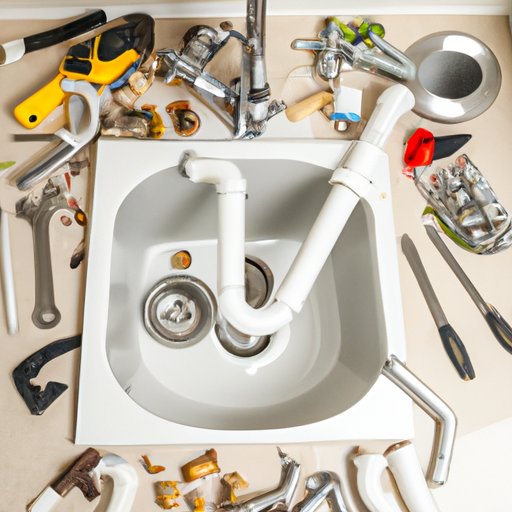
Introduction
Having a kitchen sink that doesn’t work can be a major inconvenience. Fortunately, most kitchen sink issues can be easily fixed if you know what you’re doing. In this article, we’ll provide a step-by-step guide on how to fix a kitchen sink so you can get back to using it without any problems.
Replace the Drain Trap
The first step in fixing a kitchen sink is to replace the drain trap. This is a curved pipe that connects the sink to the drainpipe and prevents sewer gases from entering the home. If the drain trap is damaged or leaking, it needs to be replaced.
To replace the drain trap, you’ll need the following tools: adjustable wrench, pliers, and screwdriver.
- Start by turning off the water supply to the sink.
- Use the adjustable wrench to loosen the nuts connecting the drain trap to the sink and the drainpipe.
- Once the nuts are loosened, use the pliers to remove the old drain trap.
- Install the new drain trap and secure it to the sink and the drainpipe using the screws.
- Turn the water supply back on and check for leaks.
Clean Out the P-Trap
The P-trap is a curved pipe located underneath the sink. It helps keep the sink free of clogs and odors. If the P-trap is clogged or not functioning properly, it needs to be cleaned out.
To clean out the P-trap, you’ll need the following tools: bucket, pliers, and flashlight.
- Place a bucket underneath the P-trap to catch any water or debris that may fall out.
- Use the pliers to loosen the nuts connecting the P-trap to the sink and the drainpipe.
- Carefully remove the P-trap and empty it into the bucket.
- Inspect the P-trap for any clogs or blockages. Use the flashlight to help you see inside.
- If there are any clogs, use the pliers to remove them.
- Reattach the P-trap and make sure it is securely fastened.
- Check for leaks.
Clear Clogs with a Plunger
If the sink is clogged, you can use a plunger to try and clear it. A plunger is a simple tool that uses suction to force the clog out of the drain.
To clear a clog with a plunger, you’ll need the following tools: plunger and bucket.
- Fill the sink with enough water to cover the plunger’s cup.
- Place the plunger over the drain and press down firmly.
- Pull up quickly and repeat several times until the clog is cleared.
- If the clog is still present, use a bucket to scoop out any remaining debris.
Replace the Sink Stopper
The sink stopper is a small plug that sits in the drain and prevents water from draining out. If the sink stopper is broken or not functioning properly, it needs to be replaced.
To replace the sink stopper, you’ll need the following tools: adjustable wrench, screwdriver, and pliers.
- Turn off the water supply to the sink.
- Remove the old sink stopper using the adjustable wrench and screwdriver.
- Install the new sink stopper and secure it to the sink using the pliers.
- Turn the water supply back on and check for leaks.

Tighten the Pipes and Fittings
If the sink is leaking, it could be due to loose pipes and fittings. To fix this problem, you’ll need to tighten the pipes and fittings using a wrench.
To tighten the pipes and fittings, you’ll need the following tools: adjustable wrench and screwdriver.
- Turn off the water supply to the sink.
- Use the adjustable wrench to tighten the nuts connecting the sink to the drainpipe.
- Use the screwdriver to tighten any loose screws.
- Turn the water supply back on and check for leaks.
Check for Leaks
Once you’ve completed all the steps above, it’s important to check for leaks. If there are any leaks, they need to be fixed before the sink can be used again.
To check for leaks, you’ll need the following tools: flashlight and bucket.
- Turn off the water supply to the sink.
- Inspect the pipes and fittings for any visible signs of leakage. Use the flashlight to help you see better.
- If there are any leaks, use the bucket to collect the water.
- Turn the water supply back on and check for leaks.
Install a New Faucet
If the faucet is damaged or not functioning properly, it needs to be replaced. Installing a new faucet is relatively straightforward and only requires a few tools.
To install a new faucet, you’ll need the following tools: adjustable wrench, screwdriver, pliers, and drill.
- Turn off the water supply to the sink.
- Use the adjustable wrench to remove the old faucet.
- Install the new faucet and secure it to the sink using the screws.
- Connect the hot and cold water lines to the faucet using the pliers.
- Drill any holes needed for the faucet.
- Turn the water supply back on and check for leaks.
Conclusion
Fixing a kitchen sink isn’t always easy, but it can be done with the right knowledge and tools. In this article, we provided a step-by-step guide on how to fix a kitchen sink, from replacing the drain trap to installing a new faucet. With these instructions, you should now be able to repair your sink with ease.
To prevent future problems, make sure to regularly inspect and maintain your kitchen sink. Check for any signs of wear or damage and take care of any minor repairs as soon as possible. Doing so will help ensure that your sink stays in good condition for years to come.


