Introduction
An outdoor faucet, also known as a hose bib or spigot, is a plumbing fixture that is used to connect a garden hose to a home’s water supply. It is usually located on the exterior wall of the house near the back or side yard. People need to fix their outdoor faucets when they start to leak or show signs of wear and tear.
Troubleshooting an Outdoor Faucet Leak
The first step in fixing an outdoor faucet is to identify the source of the leak. There are several possibilities, such as loose washers, corroded O-rings, or a faulty valve stem. To troubleshoot the leak, start by inspecting the washers and O-rings. If these parts appear to be worn out or damaged, they should be replaced.
Next, check the valve stem. The stem is connected to the handle and is responsible for controlling the flow of water. If the stem is cracked or broken, it needs to be replaced. If the stem appears to be intact, make sure it is properly lubricated and adjusted.
How to Change Washers and O-Rings in an Outdoor Faucet
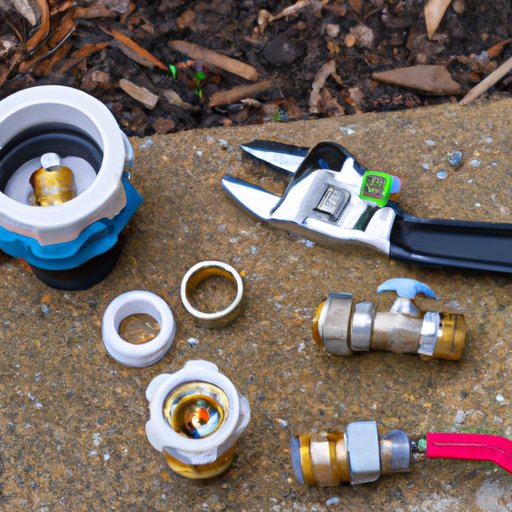
Changing the washers and O-rings in an outdoor faucet is relatively simple. First, gather the necessary tools, such as a screwdriver, adjustable wrench, pliers, and replacement washers and O-rings. Next, turn off the water supply and remove the old washers and O-rings from the faucet using the screwdriver and pliers.
Once the old parts have been removed, install the new washers and O-rings. Make sure they are seated correctly and tightened securely. Finally, turn the water supply back on and test the faucet to make sure it is functioning properly.

Replacing a Faulty Outdoor Faucet
If the outdoor faucet is beyond repair, it may need to be replaced. Before beginning, shut off the water supply to the faucet. Then, use the adjustable wrench to remove the old faucet from the wall. Once the old faucet has been removed, install the new one in its place.
To attach the new faucet, use the mounting screws that came with it. Make sure the screws are tight and secure. Finally, reconnect the water supply lines and turn the water back on. Test the faucet to make sure it is functioning properly.

Installing a New Outdoor Faucet
If you don’t already have an outdoor faucet, you can easily install one yourself. Start by measuring the area where the faucet will be installed. Make sure there is enough room for the faucet and that all the necessary connections can be made.
Once the measurements have been taken, drill two holes in the wall for the mounting screws. Attach the faucet to the wall and then connect the water supply lines. Turn the water on and test the faucet to make sure it is working properly.
Adjusting an Outdoor Faucet’s Water Pressure
Sometimes, an outdoor faucet’s water pressure may need to be adjusted. To do this, locate the water pressure regulator, which is typically located near the main water supply line. Use a screwdriver to adjust the water pressure. Make sure the pressure is not too high, as this can cause damage to the faucet.

Inspecting an Outdoor Faucet for Cracks or Damage
Over time, outdoor faucets can become damaged due to wear and tear. Periodically inspect your outdoor faucet for signs of wear and tear, such as cracks, rust, or corrosion. If you notice any of these problems, it is best to replace the faucet as soon as possible.
Cleaning and Maintaining an Outdoor Faucet
To ensure your outdoor faucet remains in good working condition, it is important to clean and maintain it regularly. This includes cleaning the faucet with a mild detergent and applying lubricant to the valve stem. Additionally, make sure to check the washers and O-rings periodically and replace any worn out parts.
Conclusion
Fixing an outdoor faucet is a relatively easy task that can be completed in a few simple steps. By troubleshooting the source of the leak, replacing worn out parts, and adjusting the water pressure, you can keep your outdoor faucet in good working order. Additionally, it is important to clean and maintain your outdoor faucet regularly to ensure optimal performance.


