Introduction
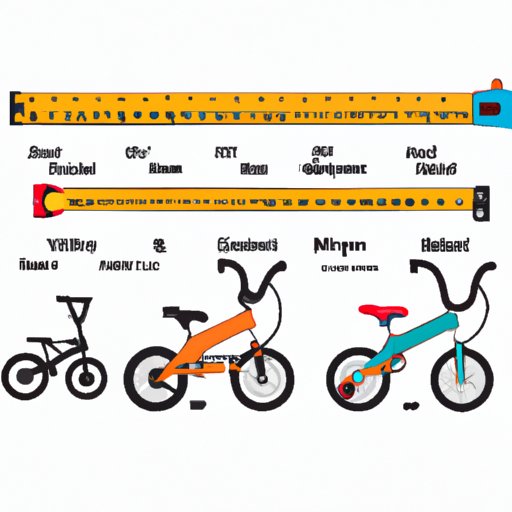
Finding the right size bike for your child is essential to ensure they have a safe and enjoyable experience when riding. But what is the best way to measure kids bike size? In this article, we’ll explore the different ways you can measure kids bike size, including inseam length, frame size, standover height, reach to handlebars, and adjusting the saddle height. By the end of this article, you’ll have all the information you need to make sure your child has the right size bike.
Measuring by Inseam Length
The first step to measuring kids bike size is to measure their inseam length. This is the distance from the ground to the child’s crotch when standing upright with bare feet. To get an accurate measurement, have your child stand up straight against a wall and place a book or ruler between their legs so that it touches both the top of their feet and their crotch. Then, measure the distance from the floor to the top of the book or ruler.
It’s important to make sure that your child is standing up straight and their feet are firmly planted on the ground when taking the measurement. You should also be sure to remove any shoes or socks before taking the measurement. This will ensure that the inseam length is as accurate as possible.
Calculating the Bike Frame Size
Once you have the inseam length measurement, it’s time to calculate the bike frame size. To do this, take the inseam length measurement and multiply it by 0.65. This will give you the approximate bike frame size your child needs. However, it’s important to keep in mind that this calculation may not be 100% accurate, especially if your child is younger or shorter than average. In these cases, you may need to adjust the frame size to better suit your child’s age and height.

Using a Kids Bike Sizing Chart
Another way to measure kids bike size is to use a kids bike sizing chart. These charts are available online and provide a range of sizes based on the child’s age and height. To use the chart, simply enter your child’s age and height into the chart and it will give you the recommended bike size. Keep in mind that these charts are just a general guide and may not be 100% accurate for every child. It’s always best to double-check the measurements to make sure the bike is the right size.
Checking for Standover Height
Once you’ve determined the correct frame size, the next step is to check for standover height. This is the distance from the ground to the top tube of the bike when the child is standing over it. To measure standover height, have your child stand with both feet flat on the ground and measure the distance from the ground to the top tube of the bike. The ideal standover height should be approximately 1 inch or less.

Examining the Reach to Handlebars
The next step is to check the reach to the handlebars. This is the distance from the seat to the handlebars. To measure this, have your child sit on the bike and measure the distance from the seat to the handlebars. The ideal reach should be comfortable for your child and allow them to easily reach the handlebars while seated.
Adjusting the Saddle Height
Finally, it’s important to adjust the saddle height. This is the height of the seat when the child is sitting on the bike. To adjust the saddle height, have your child sit on the bike and adjust the saddle until it is at a comfortable height. The ideal saddle height should be approximately level with the child’s hip when they are seated.
Conclusion
Measuring kids bike size doesn’t have to be complicated. By following the steps outlined in this article, you’ll be able to accurately measure your child’s bike size and make sure it’s the perfect fit for them. Remember to take into account your child’s age and height when calculating the frame size, and don’t forget to check for standover height, reach to the handlebars, and saddle height. With these tips, you’ll be able to make sure your child has the right size bike for a safe and enjoyable ride.


