
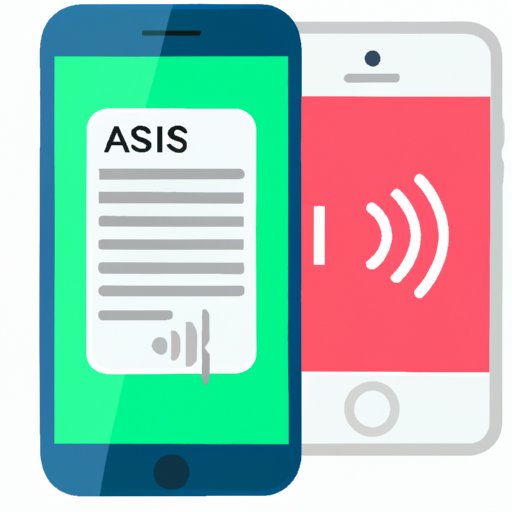
Introduction
Recording phone calls on an iPhone may seem like a complicated task, but it’s actually quite simple. With a few tools and some know-how, you can easily set up your iPhone to record any conversation. Whether you’re wanting to capture important conversations or just save memories, this guide will show you exactly how to record phone calls on an iPhone.
Step-by-Step Guide to Recording iPhone Calls
Before you start recording phone calls on your iPhone, you’ll need to make sure you have the necessary equipment. You’ll need an iPhone with iOS 10 or higher, an internet connection, and a microphone or headset. Once you have all of these items, you’ll be ready to begin recording.
What You Need
To record phone calls on your iPhone, you’ll need the following items:
- An iPhone with iOS 10 or higher
- A reliable internet connection
- A microphone or headset
Setting Up the Call
Once you have all of the necessary equipment, it’s time to set up your call. Start by dialing the number you want to record. Once the call is connected, you can start the recording process.
Starting the Recording
Now that the call is connected, you can start the recording process. On most phones, there is a button or icon that will allow you to turn on the recording feature. If you don’t see one, you may need to download a third-party app or use a computer to record the call.
How to Use Third-Party Apps to Record iPhone Calls
If your iPhone doesn’t have a built-in recording feature, you can download a third-party app to record your calls. There are many different apps available, and each one offers its own unique features. Here are some of the more popular apps:
Popular Apps
- Call Recorder Pro
- TapeACall Pro
- Voice Recorder HD
Features Offered by Each App
Each of these apps offer their own unique features. For example, Call Recorder Pro allows you to record incoming and outgoing calls, while TapeACall Pro allows you to share recordings with others. Voice Recorder HD offers a variety of audio editing tools, so you can customize your recordings.
Pros and Cons of Using Third-Party Apps
Using third-party apps has its advantages and disadvantages. On the plus side, they allow you to record calls without having to download additional software or hardware. They also offer a variety of features that can make recording easier. On the downside, they can be expensive and may not be compatible with all models of iPhones.
How to Record Phone Calls on Your iPhone with a Computer
If you don’t want to use a third-party app, you can also record phone calls on your iPhone using a computer. This requires a bit more setup than using an app, but it can be done. Here’s what you’ll need:
Requirements
- A computer with a sound card and microphone
- A USB cable to connect your iPhone to your computer
- A recording program (such as Audacity)
Setting Up the Call
Once you have all of the necessary equipment, you can start setting up your call. Connect your iPhone to your computer using the USB cable and open the recording program. Make sure the microphone is enabled and start dialing the number you want to record.
Starting the Recording
Once the call is connected, you can start the recording process. In most programs, there will be a button or icon that allows you to start the recording. Once you’ve started the recording, you can disconnect the call and save the file for later.

Tips and Tricks for Recording iPhone Calls
When recording phone calls, there are a few things you should keep in mind to ensure the best quality recordings. Here are some tips and tricks to help you get the most out of your recordings:
Make Sure You Have Consent
Before you start recording a call, make sure you have the other person’s consent. Depending on where you live, it may be illegal to record a call without the other person’s knowledge.
Use a Headset for Better Audio Quality
Using a headset with a microphone can help improve the audio quality of your recordings. The headset will also help reduce background noise and make it easier to hear the other person.
Be Aware of Local Laws
It’s important to be aware of your local laws when it comes to recording phone calls. In some areas, it may be illegal to record a call without the other person’s consent. Make sure you check your local laws before you start recording.
Using the iPhone’s Built-in Call Recording Feature
If your iPhone has a built-in call recording feature, you can use it to record conversations. This feature is only available on certain models of iPhones, so check your settings to see if it’s available on your device.
Pros and Cons of Using the Feature
The built-in call recording feature has both advantages and disadvantages. On the plus side, it’s easy to use and doesn’t require any additional hardware or software. On the downside, it may not be available on all models of iPhones, and it may not offer as many features as third-party apps.
Setting Up the Call
Once you’ve located the call recording feature on your iPhone, you can start setting up the call. Dial the number you want to record and wait for the call to connect.
Starting the Recording
Once the call is connected, you can start the recording process. Look for the recording icon or button and press it to start recording. Once the recording has started, you can disconnect the call and save the recording for later.
Conclusion
Recording phone calls on an iPhone is easier than you think. With the right tools and a bit of know-how, you can easily set up your iPhone to record any conversation. Whether you’re looking to capture important conversations or just save memories, this guide has shown you how to record phone calls on an iPhone. Be sure to follow the tips and tricks outlined here to ensure the best quality recordings.