Introduction
Acrylic nails are a popular choice for those looking for an affordable and easy way to get the perfect manicure. But when it comes time to remove the acrylics, many people find themselves asking the same question: How do I remove acrylics at home?
Removing acrylics at home can be a daunting task, but with the right knowledge and tools, it can be done safely and effectively. In this article, we’ll explore how to remove acrylics at home, step-by-step.

Soak Your Nails in Acetone
The first step in removing acrylics at home is to soak your nails in acetone. Acetone is a chemical solvent that can dissolve the acrylics, making them easier to remove.
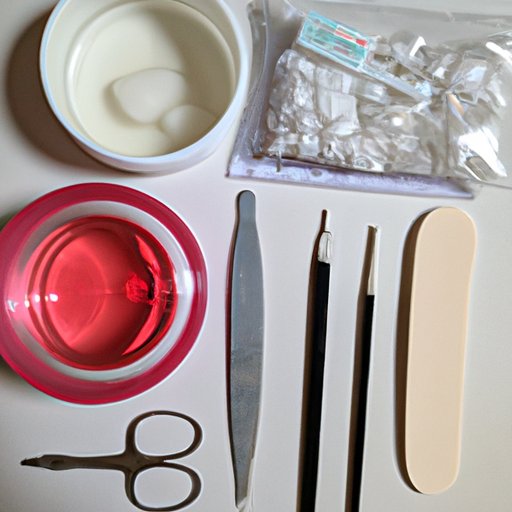
To prepare the solution, you’ll need to mix equal parts of warm water and acetone in a bowl or container. You should then submerge your nails in the solution for 15-20 minutes. This will help loosen the acrylics from your nails, making them easier to remove.

Use a Cuticle Pusher to Gently Remove the Acrylics
Once your nails have been soaked in acetone, the next step is to use a cuticle pusher to gently remove the acrylics. A cuticle pusher is a tool used to push back the cuticles and help remove any excess product.
When using a cuticle pusher, make sure to be gentle. Apply pressure to the edges of the acrylics, pushing them away from your nail bed. You may need to do this several times before all of the acrylics have been removed.
File Down the Acrylics with a Fine-Grit Nail File
After removing the majority of the acrylics with a cuticle pusher, you’ll need to file down the remaining product with a fine-grit nail file. A fine-grit nail file is a type of abrasive tool that is designed to gently sand down the surface of your nails.
When filing your nails, be sure to move the file in one direction. This will help ensure that you don’t damage the natural nail underneath the acrylics. After filing, you should have a smooth surface free of any excess product.
Buff Away the Acrylics with a Buffer
Once you’ve filed down the acrylics, you can use a buffer to buff away any remaining product. Buffing is a technique used to create a smooth, glossy surface on the nails. To do this, you’ll need to use a buffer with different levels of grit on each side.
Start by using the roughest side of the buffer and slowly work your way up to the finest side. This will help to create a smooth, glossy finish on your nails. Be sure to be gentle when buffing as you don’t want to damage the natural nail.

Use a Dental Pick to Carefully Push Off the Acrylics
Finally, you can use a dental pick to carefully push off any remaining acrylics. A dental pick is a small metal tool with a pointed end. To use it, simply insert the pointed end into the edges of the acrylics and gently push them off your nails.
Be sure to be gentle when using the dental pick. Too much force could cause damage to the natural nail. Once all of the acrylics have been removed, you can clean up your nails with a cotton pad soaked in acetone.
Conclusion
Removing acrylics at home can be a tricky task, but with the right knowledge and tools, it can be done safely and effectively. To remove acrylics at home, start by soaking your nails in acetone for 15-20 minutes. Then use a cuticle pusher to gently remove the acrylics, followed by filing down the remaining product with a fine-grit nail file. Next, buff away any remaining product with a buffer and finally, use a dental pick to carefully push off the acrylics.
When removing acrylics at home, be sure to take safety precautions. Wear gloves to protect your hands from the chemicals and always be gentle when using the tools. With these steps, you can safely and effectively remove acrylics at home.


