Introduction
Restoring furniture can be a great way to breathe new life into an old piece of wooden furniture. With the right supplies and a bit of elbow grease, you can make your furniture look as good as new. In this article, we’ll explore the steps involved in restoring wood furniture, including gathering supplies, identifying the type of wood used, cleaning and sanding the furniture, choosing the right finish, applying the finish, buffing and polishing, and protecting the refinished furniture from wear and tear.
Gather the Supplies Needed for Furniture Restoration
The first step in restoring furniture is to gather all of the necessary supplies. Common furniture restoration supplies include wood fillers, sandpaper, rags, brushes, mineral spirits, and cloths. You should also consider stocking up on some cleaning supplies, such as mild detergent, warm water, and soft cloths. Finally, you’ll need to choose a finish for the furniture. There are many different types of finishes available, so it’s important to research which one will best suit your needs.
Identify the Type of Wood Used in the Furniture
Before you begin restoring the furniture, you’ll need to identify the type of wood used in the piece. Different woods require different types of care and finishes, so it’s important to know what type of wood you’re dealing with. Some common types of wood used in furniture include oak, pine, cherry, walnut, teak, mahogany, and maple.
In order to determine the type of wood used in the furniture, you’ll need to inspect the piece closely. Look for visible grain patterns and color variations, which can help you identify the type of wood. You can also use a magnifying glass to get a closer look at the wood. Additionally, you can use a wood identification test kit, which will help you accurately identify the type of wood.

Clean and Sand the Furniture to Remove Old Finish
Once you’ve identified the type of wood used in the furniture, you can begin preparing the surface for refinishing. Start by cleaning the furniture with a mild detergent and warm water. Use a soft cloth or brush to remove any dirt, dust, and grime. Once the furniture is clean, you’ll need to sand the surface to remove any old finish. It’s important to use the right type of sandpaper for the job. For example, if the furniture is made of hardwood, you’ll want to use a medium-grit sandpaper. If the furniture is made of softer woods, such as pine or cedar, you’ll want to use a finer grit sandpaper.
When sanding the furniture, be sure to wear protective gear, such as a face mask and gloves. You should also work in a well-ventilated area to avoid inhaling any dust or fumes. When sanding, be sure to move in the same direction as the grain of the wood. This will help ensure an even finish.
Choose the Right Finish for the Furniture
Once the furniture has been sanded, it’s time to choose the right finish. There are many factors to consider when selecting a finish, such as the type of wood used, the desired look and feel, and the amount of time and money you’re willing to invest. Some popular types of finishes include lacquer, shellac, varnish, and oil-based stains.
It’s important to research each type of finish to determine which one is the best option for your furniture. You may also want to experiment with different finishes to see which one looks best and lasts the longest. Additionally, you should consider whether you want to apply the finish yourself or hire a professional.

Apply the Finish with a Brush or Rag
Once you’ve chosen the right finish for the furniture, you can begin applying it. Depending on the type of finish, you may need to use a brush or rag to apply the finish. Be sure to follow the instructions on the label of the finish to ensure proper application. Additionally, you should work in small sections to ensure even coverage and avoid drips and runs.
When applying the finish, it’s important to start with light coats and allow them to dry completely before applying additional coats. This will help ensure a smooth and even finish. Additionally, you should sand between coats to prevent any bumps or ridges.

Buff and Polish the Finished Wood Piece
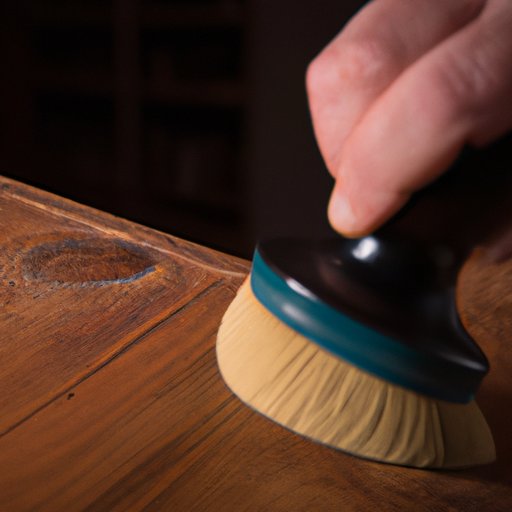
Once the finish has been applied and allowed to dry completely, you can begin buffing and polishing the wood piece. Buffing and polishing will help bring out the natural beauty of the wood and make the piece shine. To buff and polish the wood, you’ll need a soft cloth and some furniture wax. Rub the wax onto the wood in small circles, then buff the wax off with the cloth. You may need to repeat this process several times to achieve the desired shine.

Protect the Refinished Furniture from Wear and Tear
Finally, it’s important to protect your refinished furniture from wear and tear. One way to do this is to place felt pads on the bottom of the furniture legs to protect floors from scratches. Additionally, you can use furniture wax or polish to create a protective barrier against dirt and dust. Regularly cleaning and dusting the furniture will also help keep it looking its best.
Conclusion
Restoring wood furniture can be a fun and rewarding experience. With the right supplies, some patience, and a bit of elbow grease, you can make your furniture look as good as new. The steps involved in restoring wood furniture include gathering supplies, identifying the type of wood used, cleaning and sanding the furniture, choosing the right finish, applying the finish, buffing and polishing, and protecting the refinished furniture from wear and tear. With these tips and tricks, you’ll be able to restore your furniture with ease.


