Introduction
A vacuum leak is an air leak in the intake manifold of an engine that causes the engine to run poorly or not at all. Vacuum leaks can be caused by cracked or split hoses, loose clamps, disconnected components, or hissing sounds. It is important to identify and fix these problems in order to ensure your engine runs smoothly and efficiently.
Use a Smoke Machine to Detect Vacuum Leaks
A smoke machine is a tool used to diagnose vacuum leaks. It works by blowing a smoke-like vapor into the air intake system, which will then flow into the intake manifold and out of any existing leaks. This allows the technician to easily find where the leak is located. The smoke will come out of the leak and can be seen with the naked eye.
To use a smoke machine, first make sure the engine is off. Connect the hose from the smoke machine to the air intake system. Turn the machine on and set it to the desired pressure level. Once the smoke has been released, look for any visible signs of a leak. If there is a leak, the smoke will be visible coming out of the affected area. Once the leak is identified, it can be repaired.

Inspect All Vacuum Lines and Hoses for Cracks or Splits
Vacuum lines and hoses are often the source of vacuum leaks. To check them for cracks or splits, start by visually inspecting each line and hose for any visible damage. Pay particular attention to areas that may be exposed to heat or other elements, as these are more likely to suffer from wear and tear. If cracks or splits are found, the affected part should be replaced.
It is also important to check the connections between the vacuum lines and hoses, as these can become loose over time. Make sure all connections are tight and secure.

Check for Loose or Missing Clamps on the Hoses
Loose or missing clamps on the hoses can also cause vacuum leaks. To check for this, inspect each clamp to make sure it’s tight and secure. If any of the clamps are loose, tighten them with a wrench. If any clamps are missing, replace them with new ones.

Check for Disconnected or Damaged Vacuum Components
The vacuum components, such as the EGR valve and PCV valve, can become disconnected or damaged. If these components are not working properly, they can cause vacuum leaks. To check for this, locate and inspect each component for any signs of damage or disconnection. If any of the components are damaged or disconnected, they should be replaced.
Listen for Any Hissing Sounds That May Indicate a Leak
Hissing sounds can indicate a vacuum leak. To check for this, turn off the engine and listen around the engine bay. If you hear any hissing sounds, they could indicate a leak. If you do hear a hissing sound, try to pinpoint the source of the sound and inspect the area for any visible signs of a leak.

Apply Soap Solution to the Hoses and Connections to Check for Bubbles
Applying a soap solution to the hoses and connections can help to identify any vacuum leaks. To do this, mix a solution of water and dish soap in a spray bottle. Spray the solution onto the hoses and connections, and look for any bubbles that form. If bubbles appear, this indicates a leak. Once the leak is identified, it can be repaired.
Use a Vacuum Gauge to Measure Pressure Levels in the System
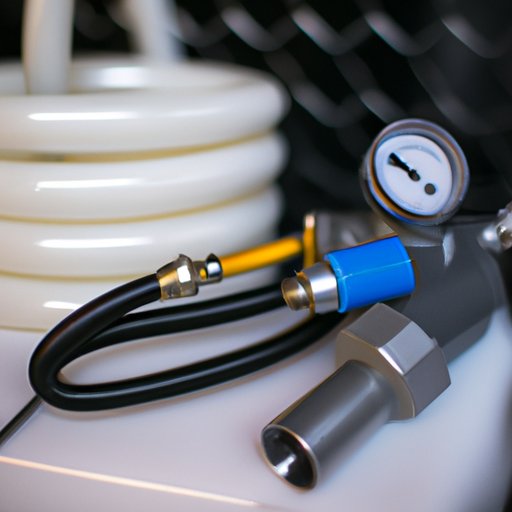
A vacuum gauge can be used to measure the pressure levels in the system. To install a vacuum gauge, connect it to the intake manifold. Once connected, start the engine and read the gauge. If the gauge reads lower than it should, this could indicate a vacuum leak. Using a vacuum gauge can help to pinpoint where the leak is located.
Conclusion
Testing for vacuum leaks is an important part of maintaining your engine. By following the steps outlined above, you can easily detect and repair any vacuum leaks. From using a smoke machine to checking for loose clamps and listening for hissing sounds, these steps will help to ensure your engine runs efficiently and reliably.
By testing for vacuum leaks regularly, you can avoid costly repairs and keep your engine running smoothly.


